2.WordPress使用Api发布文章
2.1 前言
最近想通过调用WordPress的api来发文,研究了一下流程,做个记录。
2.2 Api调用凭证准备
在WordPress中启用REST API并获取API凭证。你可以通过以下方式进行身份验证:
JWT (JSON Web Token) 身份验证: 需要安装JWT Authentication插件。
Basic Auth: 适合本地开发,不推荐用于生产环境。
OAuth: 适合生产环境,但设置较为复杂。 这里使用第一种jwt方式。
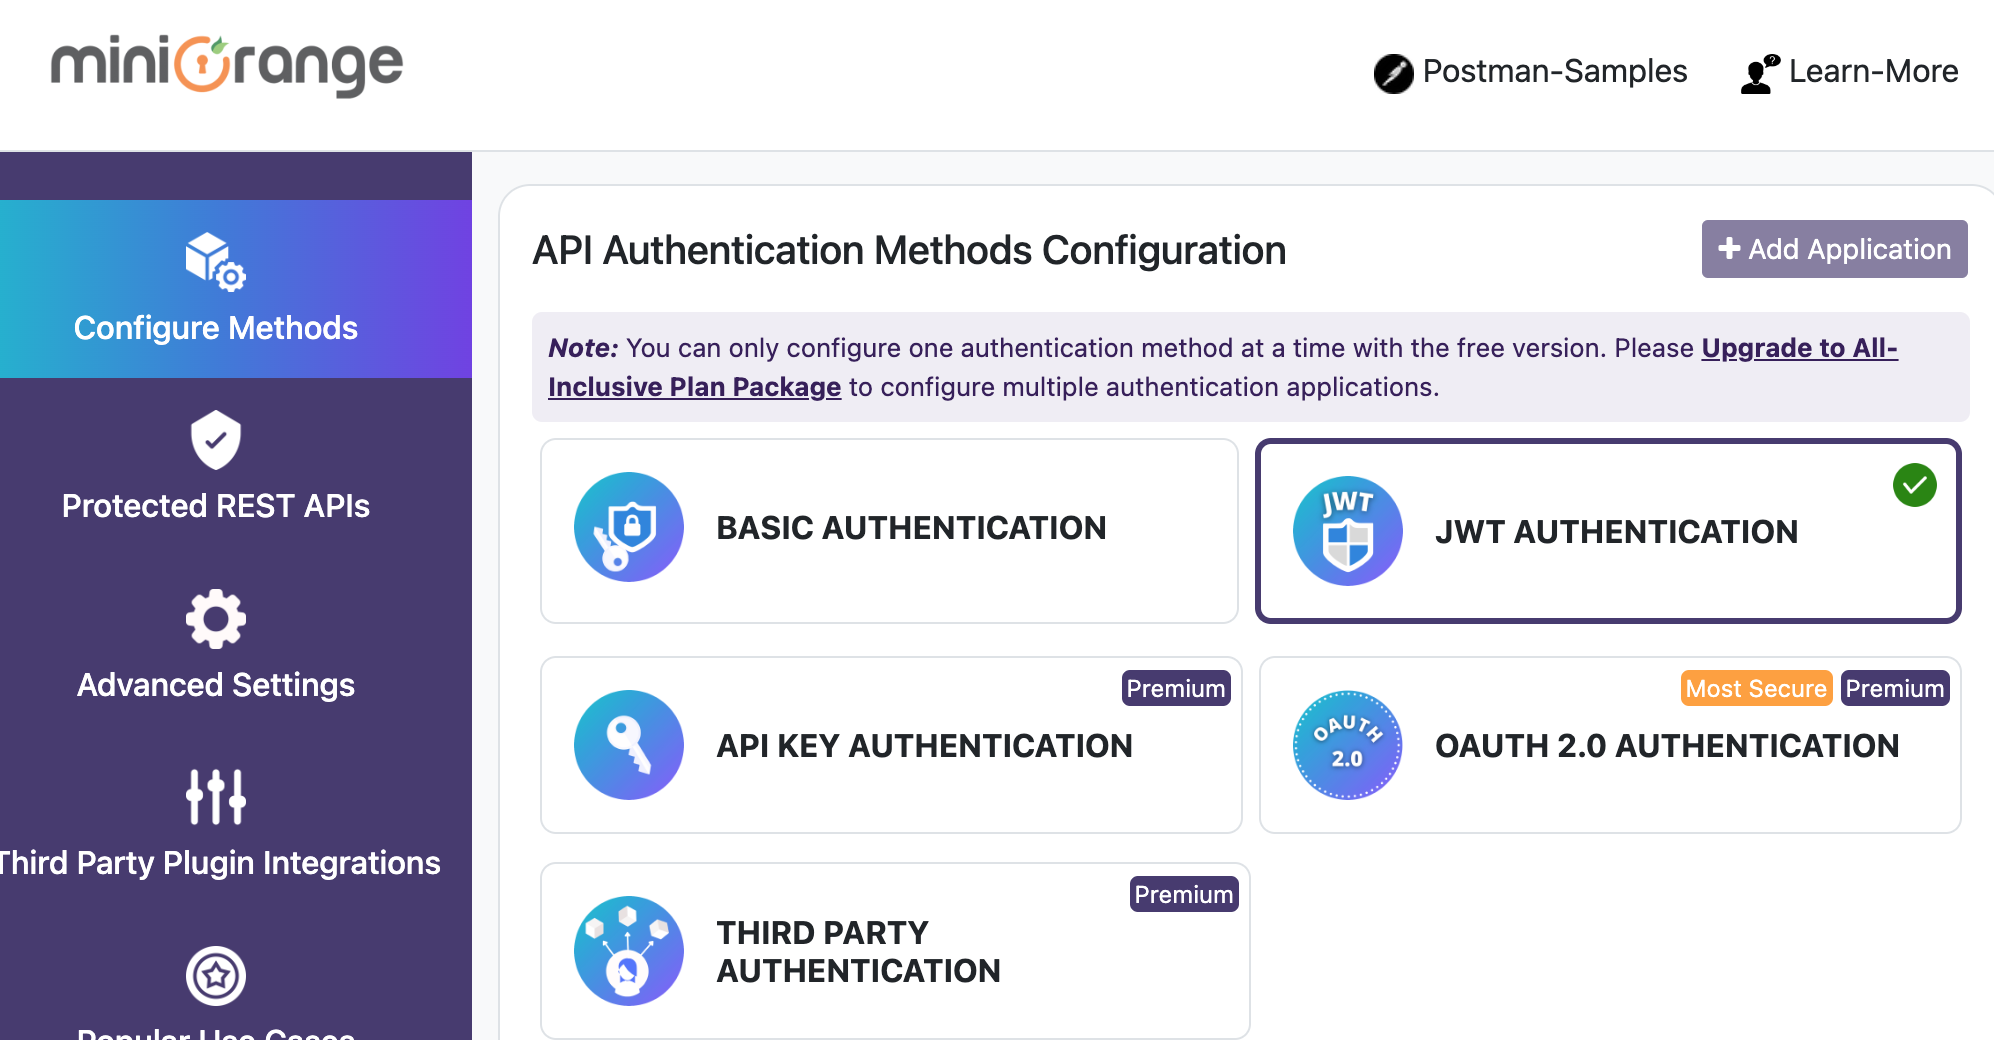
在WordPress的插件市场搜索WordPress REST API Authentication,然后安装并启用。
然后点插件的配置,进入到下面的页面,选择JWT AUTHENTICATION
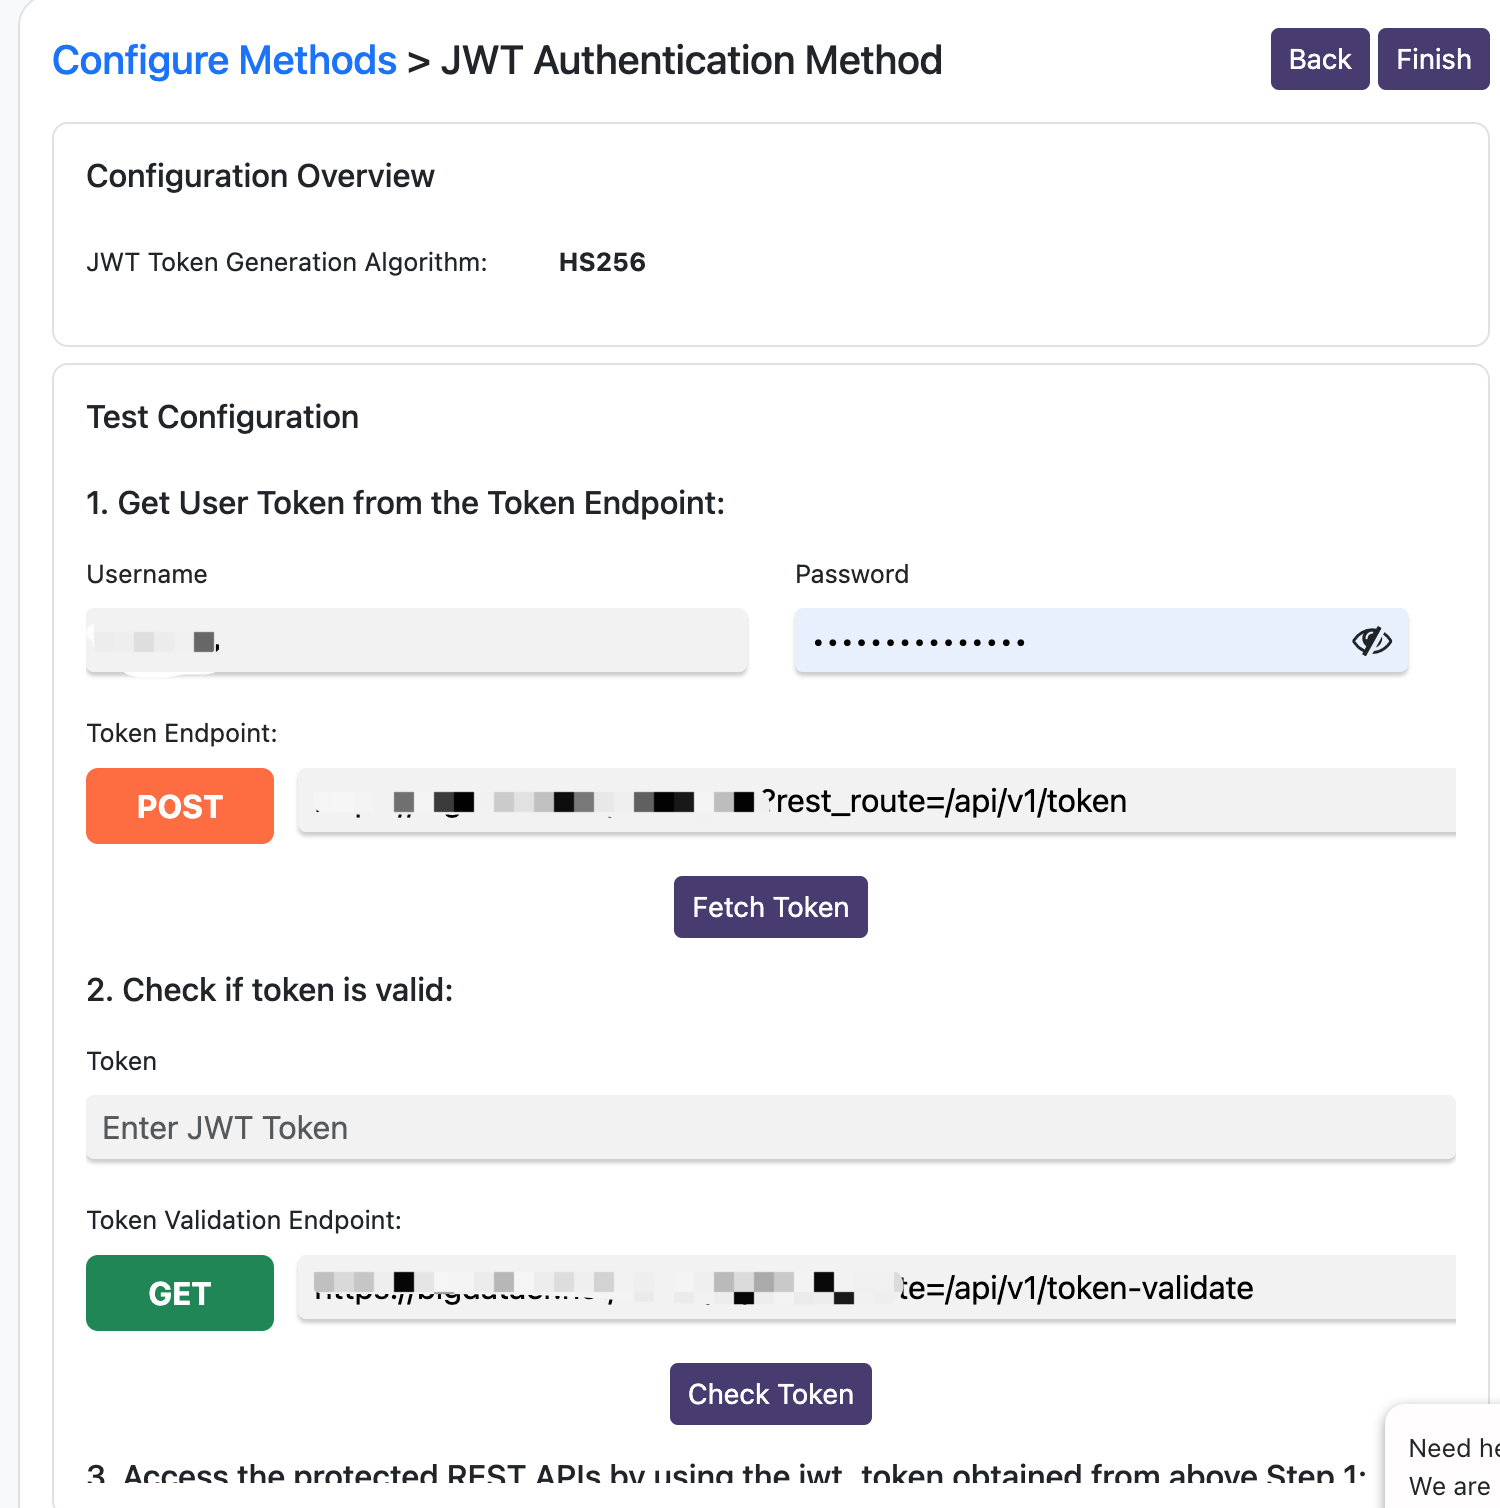
点击“next”进入下一步,进入到配置jwt和测试jwt的页面,按照提示先获取token,然后验证token有效性,最后使用token获取文章列表。如果没有问题则点击finish完成配置
2.3 碰到的问题及解决方案
验证token过程中碰到如下报错:
Authorization header not received. Either authorization header was not sent or it was removed by your server due to security reasons
原因有两个,一是nginx转发没有配置带上token,二是wordpress镜像中的.htaccess文件没有添加转发配置。 nginx中添加配置如下:
add_header 'Access-Control-Allow-Origin' '*';
add_header 'Access-Control-Allow-Headers' 'Authorization,Content-Type';
add_header 'Access-Control-Allow-Methods' 'GET, POST, OPTIONS';
add_header Access-Control-Allow-Headers "Authorization";
proxy_set_header Authorization $http_authorization;
.htaccess文件中添加配置如下:
RewriteEngine On
RewriteCond %{HTTP:Authorization} ^(.*)
RewriteRule ^(.*) - [E=HTTP_AUTHORIZATION:%1]
修改后使用nginx -s reload重启nginx,以及使用docker restart重启WordPress,再次重复上述步骤验证。
2.4 调用示例
(1)先获取token
 curl -X POST "https://your_domain/index.php?rest_route=/api/v1/token" \
-H "Content-Type: application/json" \
-d '{"username": "your_name", "password": "your_password"}'
返回如下token信息
{"token_type":"Bearer","iat":17252xxx,"expires_in":1882885306,"jwt_token":"token_content"}
token有效期默认为1小时,到期后需要重新获取
(2)发布文章
curl -X POST "https://your_domain/index.php?rest_route=/wp/v2/posts" \
-H "Content-Type: application/json" \
-H "Authorization: Bearer token" \
-d '{
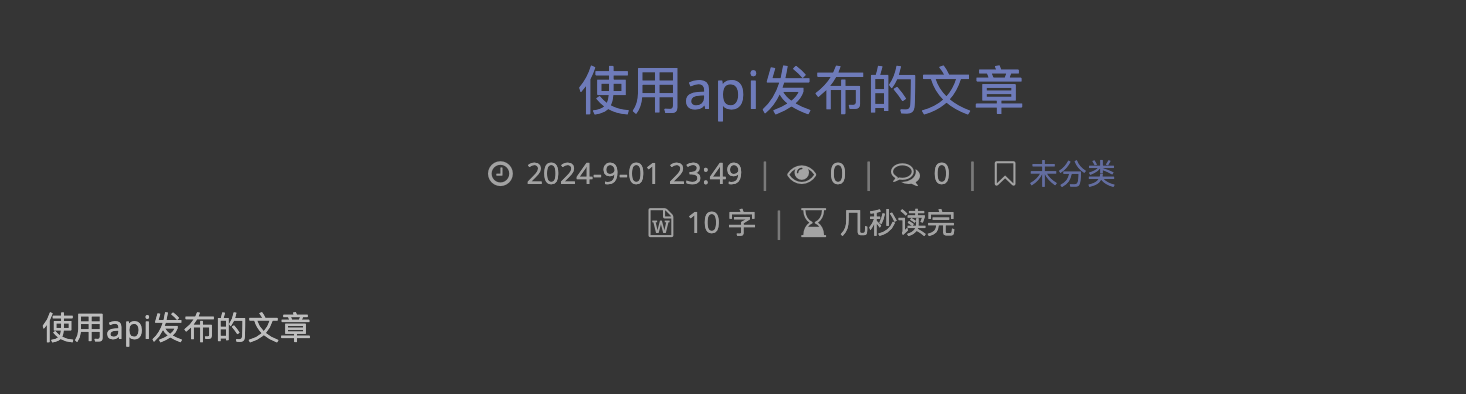
"title": "使用api发布的文章",
"content": "使用api发布的文章",
"status": "publish"
}'
打开页面就能看到刚才发布的文章